Wednesday 11 December 2019

Before and After

The below photograph is straight from the camera with no adjustments.


The photograph below has been adjusted in lightroom, with global and local adjustments to the final image.


These are the global adjustments that were applied to the whole of the image.

White balance: As shot
Exposure: +48
Contrast: +10
Highlights: -38
Shadows: 0
Whites: +17
Blacks: -2
Clarity: +10
Vibrance: +10
Saturation: +2

A few local adjustments were made to brighten the people, foreground and background. These adjustments are to be used as guide, each image will be different. 

Bhupinder Ghatahora ABIPP, ARPS, ASWPP
Ghatahora Photography
info@ghatahora.co.uk
Facebook

Monday 2 December 2019

Easy Steps to photograph smoke

How to photograph smoke in simple steps


It is very easy to take photographs of smoke; I have provided the following tips as a guide to create stunning images. For this project, I have used my DSLR with off camera flashes and also a small compact camera with its built-in flash.

Equipment needed:
Compact Camera or SLR with manual focus
Off camera or 'built-in' flash
Incense sticks
Plate to catch all the hot ash from the incense sticks
Black velvet or similar material ( a black card will also work if you don't have any material)
Photography Gels
Black card or paper to block (flag) unwanted the light
Important: Photograph indoor in a well-ventilated room (not to breezy) to avoid smoke build-up. When working with smoke, you must take regular breaks as the smoke will begin to accumulate in the room which can be a health hazard.
Setting up the shoot

I have used a DSLR for the following shots. Pin the black backdrop on the wall or alternatively as I did, rest it on the sofa.


The off camera flash is loosely wrapped at the head with black paper. This avoids the light to fall back on the backdrop and also this keeps it directed on the smoke.

The incense stick is placed between the camera and the backdrop. I hand held my camera for better flexibility, but if you wish to use a tripod, by all means do so. As I will be using a fast shutter speed, I can get away without using a tripod.

Camera settings (fully Manual on SLR):
Set your camera on Manual mode.
Set shutter at 1/125 or 1/250, this is a common setting that will sync with your flash.
Set aperture on f8 or smaller like f16 or f22. This will maximise the depth-of-field.
Set ISO on 100 or 200
Use Manual focus as the auto-focus function may struggle to latch onto the smoke.

(Tip to assist focusing. Place an object behind the incense stick and make sure it is touching it, manually focus on the object, then remove it when it is in focus).
Light the incense stick and place the flash fairly close to the smoke.
Once the above setup is complete, take the photographs. Adjust the flash accordingly to see where it gives the best result.

Tip: Do not look through the viewfinder because you will not see the full length of the smoke patterns. Follow the smoke with your camera and try to capture the interesting shapes. If you don't have manual settings on the camera, set the camera on Shutter Mode 'TV' and increase the ISO to 320 or 400, this will give you an aperture nearer to f8.
The following three photographs were taken by manual focusing on smoke. The camera was set on Manual mode, aperture f10 and shutter speed 1/125.


Try to see when the smoke makes unusual shapes and take the photograph.


When too much smoke is accumulated it can create an atmospheric effect or may look messy (see below):


The following two photographs have been taken on 'Shutter' mode. I set the shutter speed to 1/125 and the camera selected the Aperture.


Photographing smoke is really fun, try being creative with your images.

The following photographs have been taken using two off camera flashes; one was fitted with a light green coloured gel. The camera is set on manual mode just as before


Red gel is used on the below image:

 Blue gel is used on the below image:


Using a Compact camera:

If you are using a compact camera with a built-in flash, follow the above setup and select the ‘Landscape’ mode on the camera.
Tip: It is important to cover the built-in flash with a piece of tracing paper so that the light is diffused, this will avoid 'hot spots' on the backdrop.


Bhupinder Ghatahora ABIPP, ARPS, ASWPP
Ghatahora Photography
info@ghatahora.co.uk
Facebook

Monday 25 November 2019

How to take photographs in low light conditions


Lowlight photography


Photography during winter is fun, especially when the mornings are filled with mist and the light is golden. There are long shadows during sunset and frost throughout the day, beautifully formed on spider webs, plants and anything that touches the chill. Then there is snow, which creates its own unique atmosphere. But most importantly, the whole ambiance is a wonderland.
Even though it gets cold during these months, don’t let this put you off photography. Wear suitable clothing to keep warm and capture the beauty of nature in your photography.
In this article I will briefly explain how to take great photographs in different lighting conditions using the ISO, aperture, shutter, and manual mode of your camera.
Morning Photography
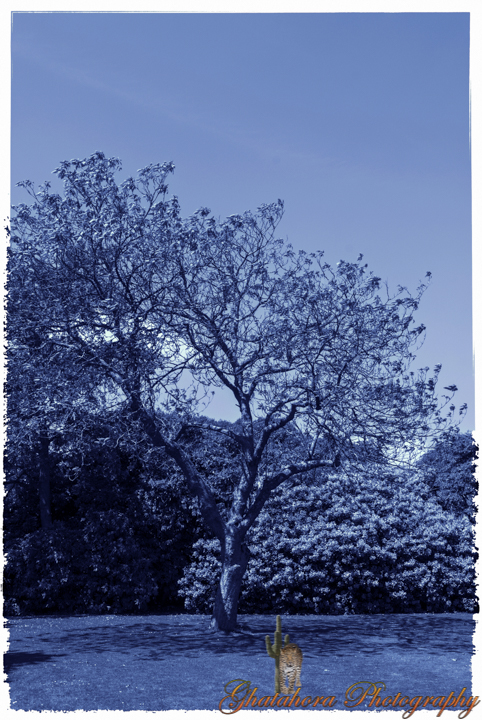
Before sunrise, the light reflected from the sky hitting the scene is very soft and diffused, which gives very weak shadows. The colour of the sky will be blue on a clear day and grey on a cloudy day, such lighting conditions can create very atmospheric photographs. This photograph was taken before the sunrise.

Use the Aperture Priority mode; set the aperture at f16 (the camera will automatically adjust the shutter speed).
For Manual mode, set the aperture at f16 and the shutter speed at 15 seconds. Use this shutter speed as a guide only, as your exposure time may vary depending on the available light. You may either have to increase or decrease the shutter speed depending on the image produced.
Cameras which do not have the Aperture Priority or Manual mode will often allow selecting different scene settings, such as ‘dusk/dawn’, ‘nightlight’ or ‘sunset’ modes. Please choose which suits you and your camera best.
Here is a photograph taken using Aperture Mode. The exposure will be long, so use a tripod as this will avoid camera shake. In this photograph the sun has just began to rise and you can see how the colours are different in both images.


If you don't have a SLR, it's still possible to get good photographs, just need to understand your camera and its modes. Read more on 'Understanding your Camera'. 
Example of photograph using ‘Dawn/dusk’ mode on a compact camera
During the morning also try to photograph the morning fog, water droplets on spider webs and frost.  To get maximum depth of field, set your compact camera on 'Landscape Mode' (set f16 on SLR - using Aperture mode ) and for minimum depth of field set the camera on 'Close-up Mode' (set f2.8 of f5.6 on SLR - using Aperture mode). The result of using these settings will be similar.
Morning fog (camera set on 'Fog Mode')
The photographs below are all taken with a compact camera.
Dew drops (camera set on 'Close-up Mode')
Night Photography
During total darkness, there is obviously no natural light available. These are perfect conditions to photograph trailing lights from cars, lit cityscapes, fireworks and light movement. 
If using Shutter mode, set your SLR on a slow shutter speeds such as 1/8th, 1/4th to capture movement. If using Manual mode, set the camera at f16 and use the camera’s exposure indicator to set the value on 0 as this will give you the correct exposure.
An exposure indicator is visible through the viewfinder which looks like:
2||||1||||0||||1||||2+.
On compact cameras choose 'Nightlight', and the camera will adjust the aperture and shutter accordingly.
Photograph of snow at night using Manual Mode:
It's great to experiment and be creative with photography. Try changing the ISO to 1600 or higher to minimise camera shake and to achieve moody, atmospheric photographs. I also convert my images to black/white to add more drama to it.
On compact cameras choose ‘Nightlight’ and the camera will adjust aperture and shutter speed accordingly.
Example of photograph using ‘Nightlight’ on a compact camera:


Bhupinder Ghatahora ABIPP, ARPS, ASWPP
Ghatahora Photography
info@ghatahora.co.uk
Facebook