Showing posts with label creative. Show all posts

Monday, 2 December 2019

Easy Steps to photograph smoke

How to photograph smoke in simple steps


It is very easy to take photographs of smoke; I have provided the following tips as a guide to create stunning images. For this project, I have used my DSLR with off camera flashes and also a small compact camera with its built-in flash.

Equipment needed:
Compact Camera or SLR with manual focus
Off camera or 'built-in' flash
Incense sticks
Plate to catch all the hot ash from the incense sticks
Black velvet or similar material ( a black card will also work if you don't have any material)
Photography Gels
Black card or paper to block (flag) unwanted the light
Important: Photograph indoor in a well-ventilated room (not to breezy) to avoid smoke build-up. When working with smoke, you must take regular breaks as the smoke will begin to accumulate in the room which can be a health hazard.
Setting up the shoot

I have used a DSLR for the following shots. Pin the black backdrop on the wall or alternatively as I did, rest it on the sofa.


The off camera flash is loosely wrapped at the head with black paper. This avoids the light to fall back on the backdrop and also this keeps it directed on the smoke.

The incense stick is placed between the camera and the backdrop. I hand held my camera for better flexibility, but if you wish to use a tripod, by all means do so. As I will be using a fast shutter speed, I can get away without using a tripod.

Camera settings (fully Manual on SLR):
Set your camera on Manual mode.
Set shutter at 1/125 or 1/250, this is a common setting that will sync with your flash.
Set aperture on f8 or smaller like f16 or f22. This will maximise the depth-of-field.
Set ISO on 100 or 200
Use Manual focus as the auto-focus function may struggle to latch onto the smoke.

(Tip to assist focusing. Place an object behind the incense stick and make sure it is touching it, manually focus on the object, then remove it when it is in focus).
Light the incense stick and place the flash fairly close to the smoke.
Once the above setup is complete, take the photographs. Adjust the flash accordingly to see where it gives the best result.

Tip: Do not look through the viewfinder because you will not see the full length of the smoke patterns. Follow the smoke with your camera and try to capture the interesting shapes. If you don't have manual settings on the camera, set the camera on Shutter Mode 'TV' and increase the ISO to 320 or 400, this will give you an aperture nearer to f8.
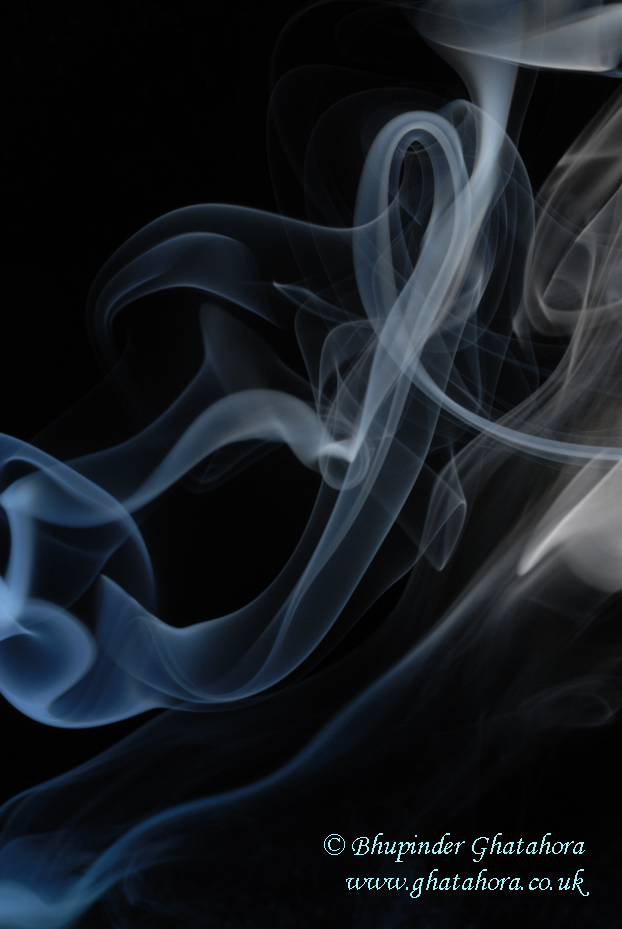
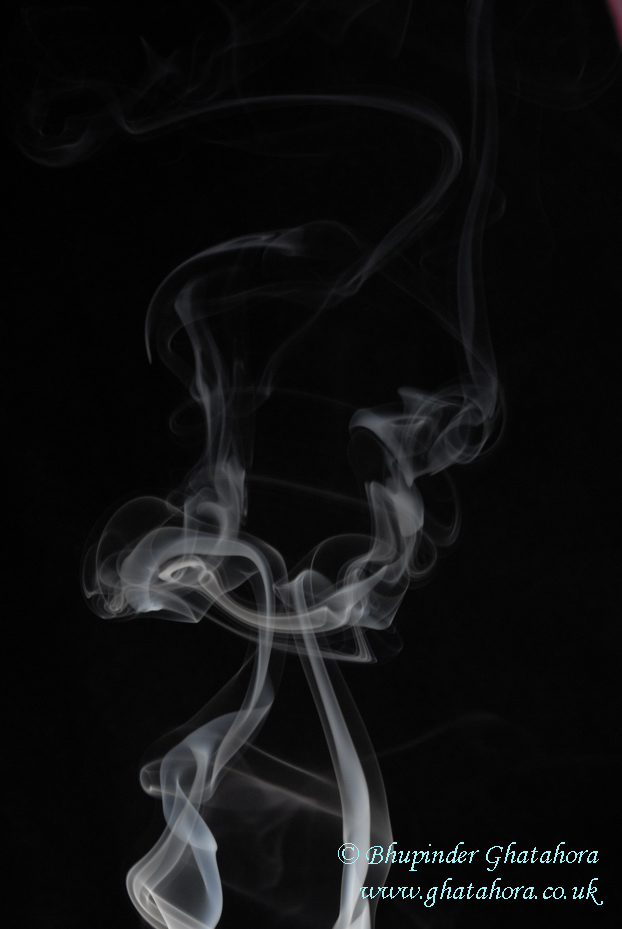
The following three photographs were taken by manual focusing on smoke. The camera was set on Manual mode, aperture f10 and shutter speed 1/125.


Try to see when the smoke makes unusual shapes and take the photograph.


When too much smoke is accumulated it can create an atmospheric effect or may look messy (see below):


The following two photographs have been taken on 'Shutter' mode. I set the shutter speed to 1/125 and the camera selected the Aperture.


Photographing smoke is really fun, try being creative with your images.

The following photographs have been taken using two off camera flashes; one was fitted with a light green coloured gel. The camera is set on manual mode just as before


Red gel is used on the below image:

 Blue gel is used on the below image:


Using a Compact camera:

If you are using a compact camera with a built-in flash, follow the above setup and select the ‘Landscape’ mode on the camera.
Tip: It is important to cover the built-in flash with a piece of tracing paper so that the light is diffused, this will avoid 'hot spots' on the backdrop.


Bhupinder Ghatahora ABIPP, ARPS, ASWPP
Ghatahora Photography
info@ghatahora.co.uk
Facebook

Wednesday, 2 September 2015

Composition - 02.09.0215

Composition can be a tricky subject to understand.

Here are a few simple composition tips to keep in mind when taking photographs.

These tips will help you improve your photography and it will also make you think about your image before you press the shutter release.

  • Basic Triangles:
Look for the basic triangles in your scene, these triangles will be formed naturally by the shapes in the environment or structures.


  • Enhance the detail:
Move closer to the subject; create a tighter crop to enhance the detail and add impact.

The photograph below shows the lady standing in a park and it does not add impact to the image.


By zooming in or moving closer to the subject creating a tighter crop, adds impact to the portrait (see below). The crop emphasis on the model's face, her make-up and her eyes.


  • Use Selective focus:
Use a wider aperture (f2.8 orf5.6) to blur the background. This will isolate the main subject from the background.


  • Change your View Point:
It is always best to take a little more time with your photography, especially in finding the most interesting view. Look around and find a different spot to shoot from than the one just in front of you: take a walk down paths, look for new angles, this means getting down lower to the ground, finding a higher up vantage point to photograph from. Explore your scene and experiment with different viewpoints and you will find something magical.


I took this photograph, but was not happy as the green foliage on the bottom left corner looks messy. I decided to change my viewpoint.


I decided to point the camera down at the flower bud. The background is blurred, isolating the subject from its messy foliage.


  • Leading Lines:
Include leading lines in your image. Look out for a natural lines leading to the subject. These could be a path, road, fence, etc.


  • Organise Shapes:
Organise shapes to create a repeated pattern.


  • Compose for Contrast:
Isolate the subject to create a contrast. Look out for subjects that 'stand-out' the most. Photograph these subjects by moving closer.


  • Use Natural Frames:
Look out for doorways, tree arches, frames created naturally. Include these in your photographs.


  • Use Rule of Third:
Use 'Rule of Third' as guide to frame the scene. Place the subject on the points where the vertical and horizontal lines meet.


  • Watch your Horizon:
It’s best that before you take a photograph always look at the horizon on two points:

a)      Is the horizon straight? It is easier to have your horizon straight in the camera viewfinder before pressing the shutter release, saving time to straighten the image later in editing softwares.

      b)     Where to place the horizon? The ‘correct’ natural spot for a horizon is on either the top third line or the bottom line of the ‘rule of thirds’, rather than completely in the middle. In saying this, rules can be broken if you are completely sure that your image with the horizon is very striking.

(See diagram below for where to place the horizon)


Example of photograph showing the horizon on the 'Top Third' line.


Example of photograph showing the horizon on the 'Bottom Third' line.


  • Be Creative:
Most importantly be creative and enjoy taking photographs.


I hope this brief insight into Composition assists you in taking better photographs.


Bhupinder Ghatahora
Ghatahora Photography
https://www.pinterest.com/ghatahoraphotog/


Wednesday, 1 April 2015

Limited Edition - 01.04.2015

Follow/subscribe to see Limited edition prints - 01.04.2015

Limited Edition Print - Buy for only £40

Unframed 16"x 12" print can also be supplied professionally framed at an addition cost.


'Buy Image'  

Bhupinder Ghatahora
Ghatahora Photography
https://twitter.com/Ghatahora
https://www.facebook.com/GhatahoraPhotography

Sunday, 1 March 2015

Limited edition prints - 01.03.2015

Follow/subscribe to see Limited edition prints - 01.03.2015

Limited Edition Print - Buy for only £40

Unframed 16"x 12" print can also be supplied professionally framed at an addition cost.


Buy Image  

Bhupinder Ghatahora
Ghatahora Photography
https://twitter.com/Ghatahora
https://www.facebook.com/GhatahoraPhotography